The Step-by-Step Guide to Creating Scrimshaw Art
Is there anything better than a sentimental memento? While these items may seem small, simply picking up a powerful healing crystal or looking at a handmade design around the house can instantly transport you back to your time lounging on the beach, pina colada in hand. When it comes to finding authentic Hawaiian gifts on your vacation, consider the timeless and classic scrimshaw designs.
But what exactly is scrimshaw? And how do those talented artists carve such dainty details? Take a second to learn how our artisans create traditional scrimshaw art, learn the steps to creating your own, and find the perfect piece to commemorate your travels.
What is Scrimshaw?
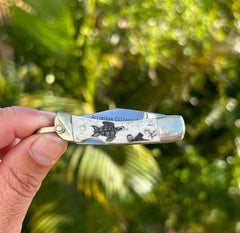
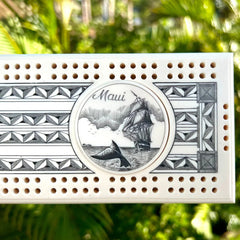
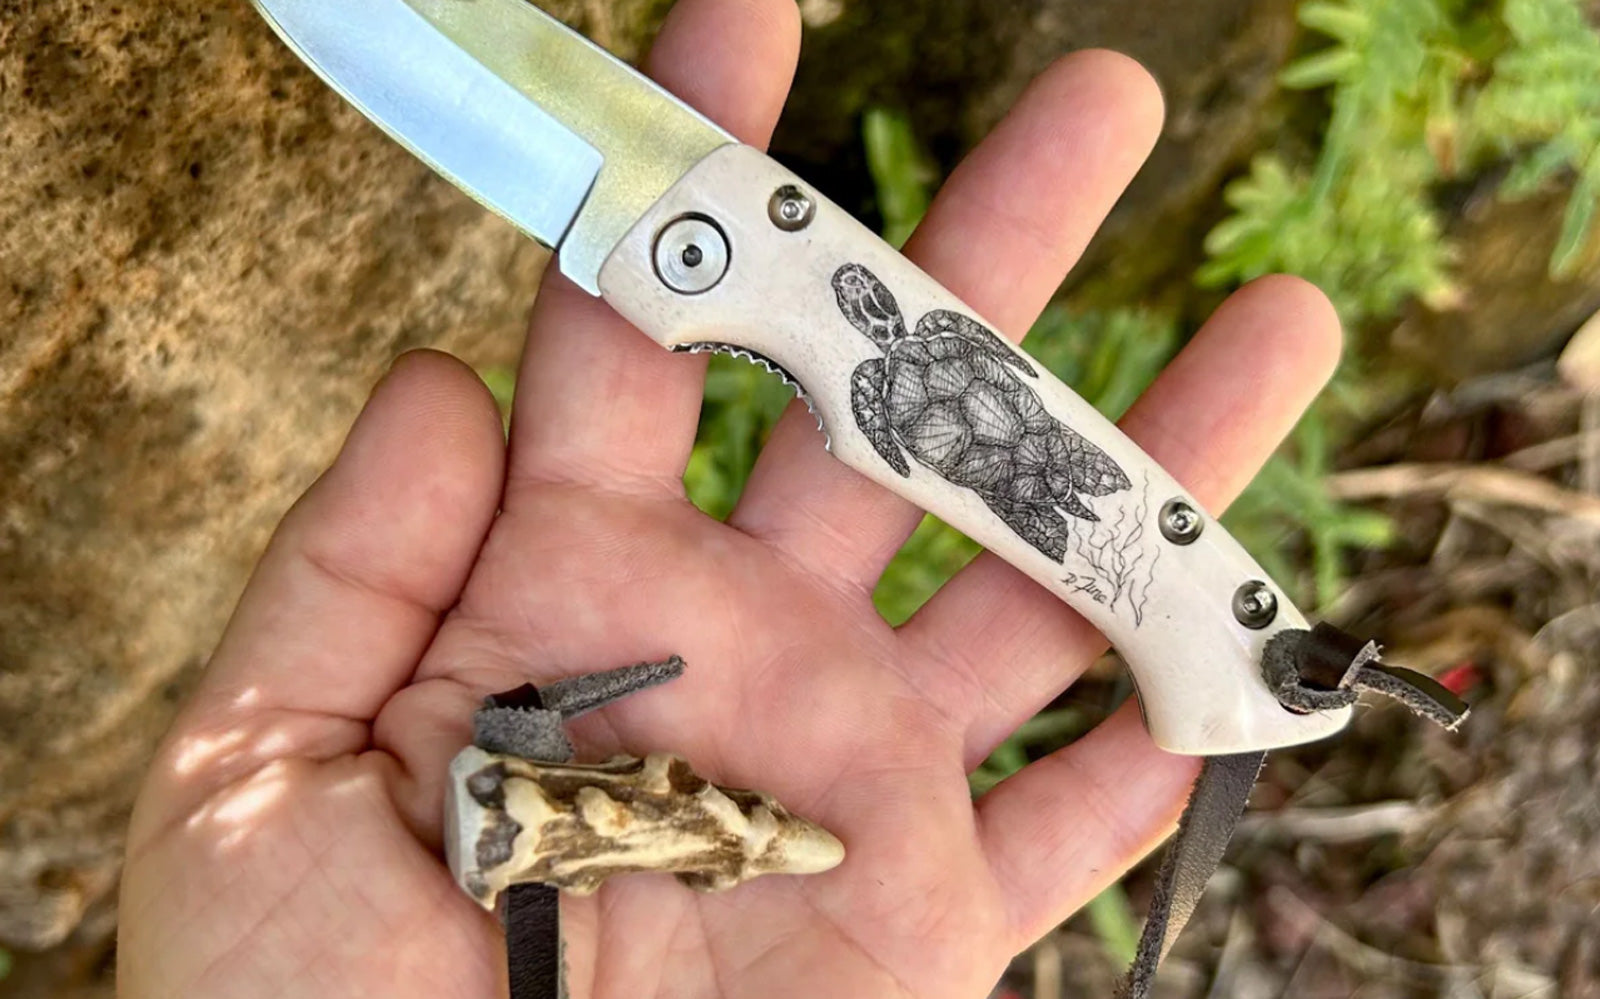
Scrimshaw is a traditional form of folk art referring to engravings and carvings done in animal bone or ivory. Traditionally done by whalers and sailors, this timeless art has been passed down from generation to generation. The designs tend to depict items such as sailing ships, myths and legends, sea creatures, nature, and more.
Popular Scrimshaw Items
Whether you’re looking for a unique scrimshaw gift for a well-traveled friend or are searching for a personal way to commemorate your vacation. There are plenty of scrimshaw items available, including:
- Pocketknives
- Paperweights
- Letter openers
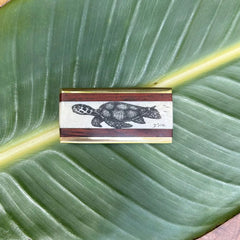
- Money clips
- Magnifying glasses
- Cribbage boards
- Home décor
How Was Scrimshaw Invented?
When this art form began in the 18th century, it was created to pass the time during long sea voyages. With a lack of quality paper on these boats, inspired sailors turned to the left-over materials from the whales they were hunting, carving designs inspired by their travels directly onto bones and baleen. These became a creative outlet and a way for them to document their travels, acting as little souvenirs for friends and family back home.
Can You Make Scrimshaw Art at Home?
Although using authentic whale ivory is generally illegal, it’s still possible for you to attempt this artistic practice in your own home on a different material! Once you gather the necessary supplies and learn step-by-step from experienced professionals, you can try out the timeless tradition of scrimshaw carving yourself.
What Tools Are Needed for Scrimshaw?
Expert artisans all have their own tips, tricks, and secrets, but the standard tools for scrimshanders are:
- Bone (or other material)
- Scribing tool
- Needle and pin vise
- Glass marking pencils
- Blank ink
- Swabs
- Toothpicks
- Sandpaper and fine steel wool
- Soft cloth
7 Steps to Creating Your Own Scrimshaw Art
With intricate details and small work surfaces, creating scrimshaw art is an impressive challenge. Buying from a trained artist never fails, but if you’re curious about how it works or plan to try it out for yourself, these are the steps they follow:
Step 1: Select the Material
While traditional scrimshaw is done on ivory, that’s no longer acceptable due to ethical concerns about the ivory business. But don’t worry! There are plenty of viable and stylish alternatives, such as bone, tusk, horn, or even synthetic ivory. All of these give a similar, if not identical, look to ivory, so it’s just a matter of personal preference.
Alternative Scrimshaw Materials
Before anything is carved, artists choose from one of these:
- Faux ivory
- Bone
- Horn
- Tusk
- Polymer
- Shell
- Ivory piano keys
- White acrylic
- Melamine
Step 2: Prepare the Surface
Once the material is chosen, it’s time to sand it down! Grab your sandpaper and begin scrubbing the desired surface until it’s completely smooth. This could require a few rounds, so be sure to have multiple sandpaper pieces in various grains on deck. Once it’s smooth, clean it off, and you’re ready to go.
Step 3: Select and Transfer a Design
Now, the fun part—choosing the design! Most of our trusted local artists find inspiration in the beauty of the islands, drawing images of sea turtles, palm trees, and calming ocean waves, but what you select can be personal to you. To get the design onto the prepared surface, the artist tends to either trace or draw freehand using glass marking pencils.
Step 4: Outline the Engraving
Pick up a sharp scribing tool, such as a knife, or trace the outline of your design to establish the general shape. This important step helps the artist stay within the desired boundaries of their beautiful carving.
Step 5: Start on the Details
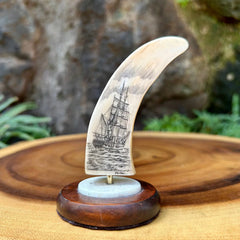
Using needles and a pin vise, it’s time to carefully engrave the finer inner details of the design. Choose the correct needle size for whatever your design entails, such as stippling, shading, and textures. Consider the depth and quantity of each carved line and dot, as every detail adds up to the bigger picture on a piece like a whaling vessel scrimshaw paperweight.
Step 6: Add Ink
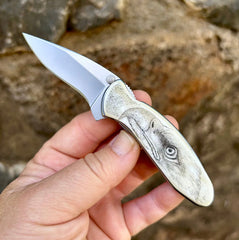
Once those lines are carved into the material, ink is added. Using a cotton swab or toothpick, go over each line with a fine layer of dark ink. Even with one initial layer, the design on a striking bald eagle scrimshaw pocketknife starts coming to life! Add as many layers as necessary to fill up each carefully engraved crevice.
Step 7: Wipe and Polish
After the ink fully settles into the carved design, you can wipe off any excess ink from your material with a lightly damp and soft polishing cloth. After the main surface is clean and the engraving remains dark, use your polishing tool to give it a timeless shine.
Expert Scrimshaw Tips:
The art of scrimshaw is all about the details, but if you’re just starting out, you may make a few mistakes along the way—and that’s okay! Anyone who designs and sells items like our favorite scrimshaw brass money clip can tell you that that will happen.
Take a few scrimshaw carving tips from the best of the best:
- Set up a good light source so each etch is easy to see.
- If you make a mistake, use sandpaper to lightly scrub the image off the material.
- If free handing a design feels too overwhelming, you can transfer an image to the surface with carbon paper for an exact guide.
- Use a stippling method to create a dotted outline so you know the general placement for your design.
- Slow and steady wins the race! Don’t rush through your design—consider each carving detail with care.
Whether you’ve always wondered how trained scrimshaw artists accomplish those intricate designs or have recently been inspired to take up the hobby, this inside look into how it’s made is key! With the correct tools, easy-to-follow steps, and a little inspiration, anyone can try their hand at traditional scrimshaw artwork.

